assignment:
3D Scanning and Printing
Group assignment: Design rules for our 3D printer
Rules
The calibrations of the 3D printer was a must to understand first
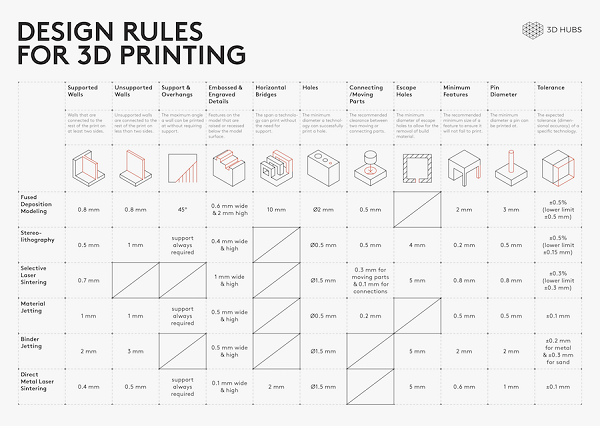
from printing several objects and having had colibrated printer for a while i came up with 3 major rules of thumb to consider:
Here is a photo of major rules of 3D printing to consider
I wanted to understand the feel of the user, and how fast can it brake before the user calls in for fixing.
that is some problem we had with z-axis movement with the extruder being heavy and we had to come up with the counter weight for. Still collecting some more insight on it
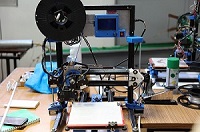
The printer used in made here from the lab we have not named them yet
the scanner used is Nextengine 3D scanner
Individual Assignment
3D printing
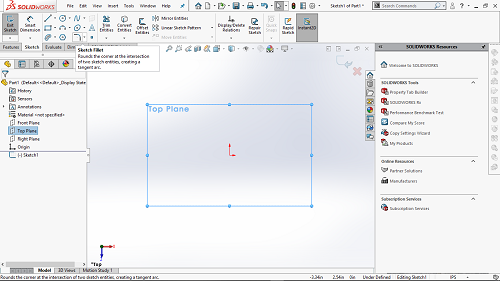
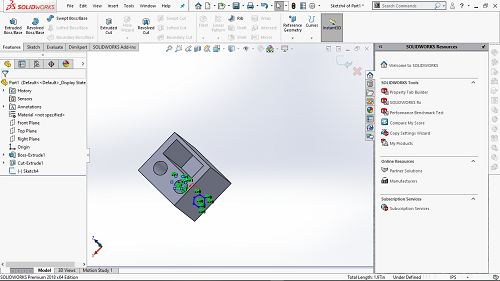
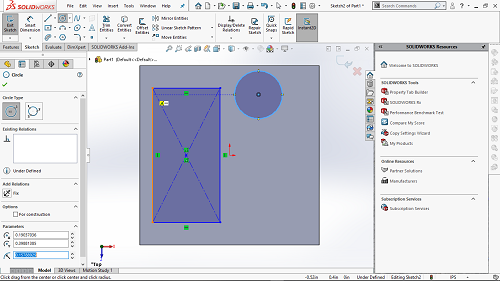
Using solid works i decided to start by designing an object that i intended to print
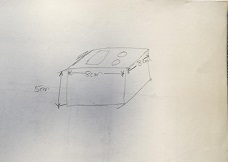
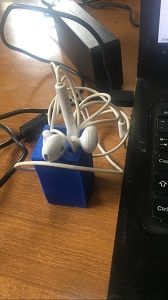
I decided to go with earphone holder or rather a storage for my earphones that would look something like this
After some time this is what i came up with through solidworks design
I decided to use my own made 3D printer which i have in the lab couse i felt its faster compared to the UPrint 3D printer.

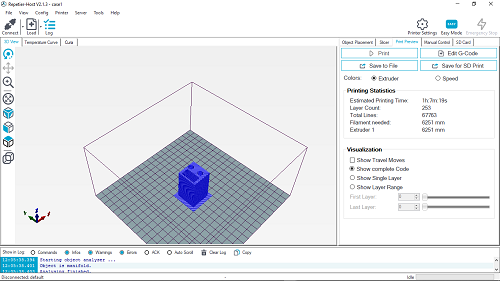
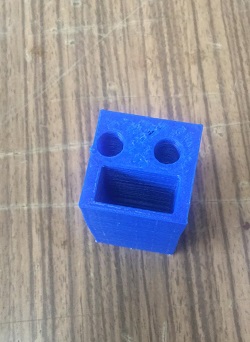
The final printed object looked this, i used repetier host to do my slicing to get my g-code coordinates
the printed casing is as follows
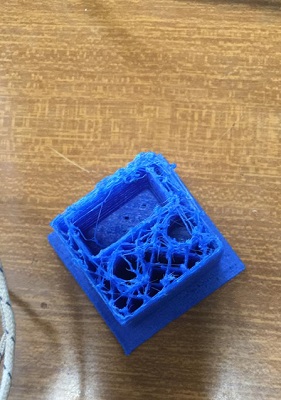
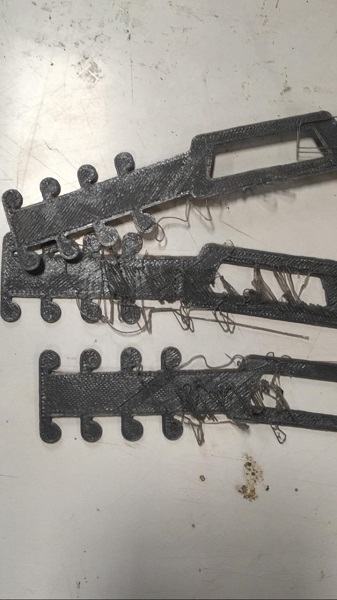
trial one

severing its purpose
i went right ahead to play with so many designed and to play with the designs that i came across in some designed myself and others downloading from thingiverse as well as grabcad. Some are as follows
In my printers, i did the following calibration:
 this appeared during initial connectio and one side of the z-axis was higher or lower than the other
 this was due to temperature setting of the printer and this might Uzzing and too much heat.
thus the idea was to use correct heat setting for different materials
this was due to temperature setting of the printer and this might Uzzing and too much heat.
thus the idea was to use correct heat setting for different materials
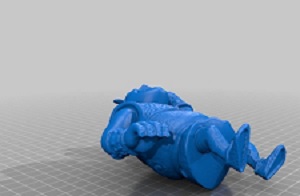
being a fun of shreck while i was a kid i found one of many toys in my archieve box and decided to scan it using the scanner
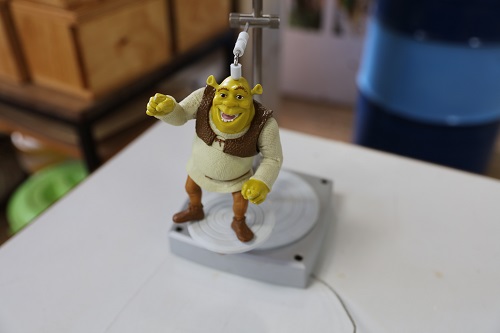
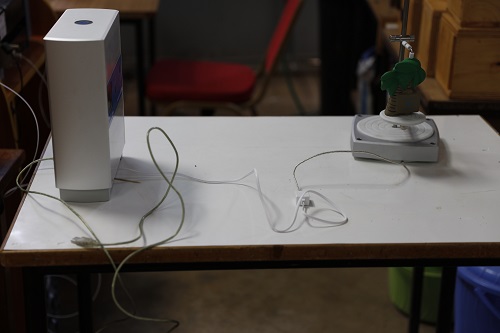
The set up was as follows

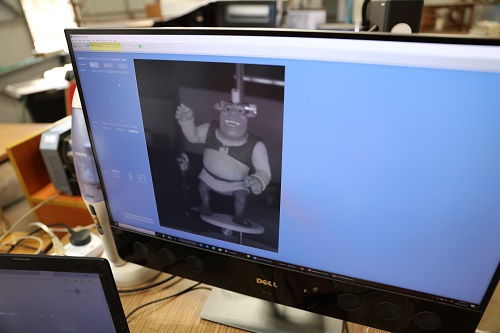
the image was captured well and it was ready to print
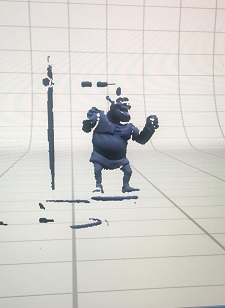
the final object was as follows
i decided to go right ahead and print the obtained object using the printed and this were results
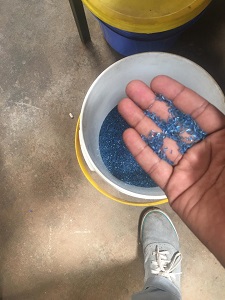
More to the lab we use recycled bottles to make our own printing materials,PET

We collect the bottles from vendures of soda,waters and juices. Sometimes we buy per kilo from the guys who collect for us to appriciate.
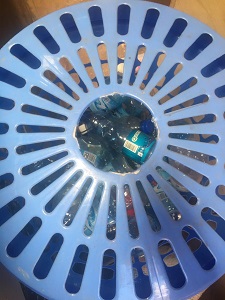
after collection we use the following machine to chop the plastics to small pieces
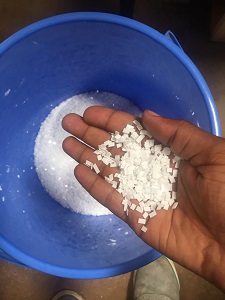
those are the small pieces that are later melted
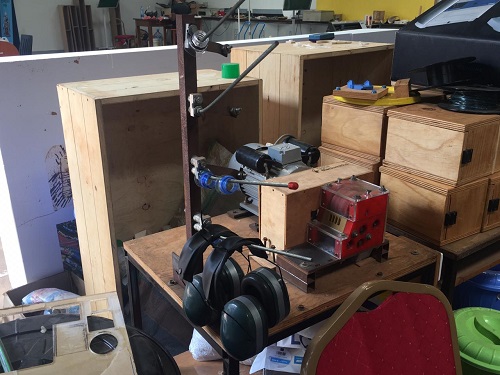
Then using machine below melt and extrude and produce the filament
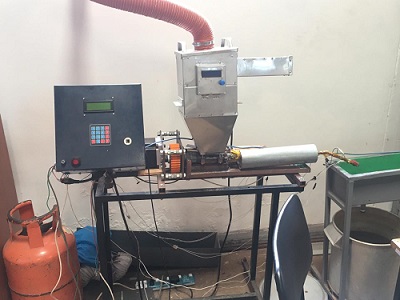
all this is usually done in the lab for more information
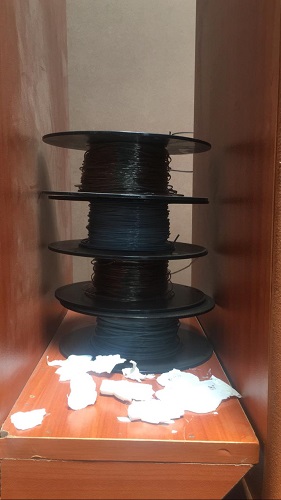
the reason for developing the machine is because buying the filament in kenya is so expensive, around KSH.4000 to KSH.6000. by doing this we reduce the cost for this by big murgin and furthermore we encourage the recycling
you can get the files here
Design FileProblem faced
